User accounts can only be created, edited, and removed by users logged in to an Admin account.
Step 1: Access Users
From the top menu bar, select Organisation, then choose Users.
Step 2: View Existing Users
The Users list displays all users associated with your organisation.
From this screen, Admin users can create new users, edit existing users, or remove users who no longer require access.
Step 3: Create a New User
Select Create User.
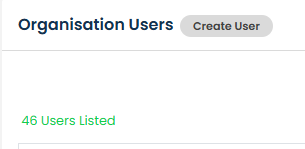
Complete the required user details:
- Name - The user's display name within GetGot.
- Role - Determines the level of access the user will have.
- Email - The user's email address, which will also be used as their username.
- Password - Create a secure password that meets the system requirements.
- Confirm Password - Re-enter the password to confirm it.
Passwords must:
- Be between 8 and 20 characters long
- Contain at least one uppercase letter
- Contain at least one lowercase letter
- Contain at least one number
- Contain at least one special character (!@#$%^&*)
The following user roles are available:
- Admin - Full system access, including user management and application form template creation.
- Standard User - Can manage vacancies and access application data.
- Monitoring - Can access applicant monitoring information only.
- Manager - Can review applicant responses for assigned recruitment exercises.
Select Save to create the user.
Step 4: Edit an Existing User
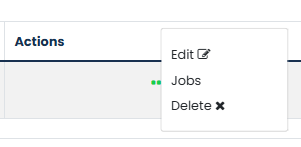
To update a user's details, select the three dots under the Actions column beside the relevant user and choose Edit.
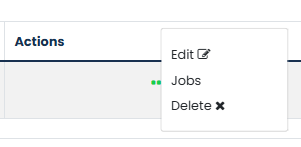
You can update the user's details and configure additional settings such as:
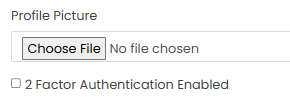
- Profile Picture - Upload a profile image for the user.
- 2 Factor Authentication Enabled - Requires the user to enter a verification code sent to their email address each time they log in.
Select Save to apply the changes.
Step 5: Remove a User
To remove a user, select the three dots under the Actions column beside the relevant user and choose Delete.
When prompted, select Yes to confirm the deletion.
Was this article helpful?
That’s Great!
Thank you for your feedback
Sorry! We couldn't be helpful
Thank you for your feedback
Feedback sent
We appreciate your effort and will try to fix the article