Interview Locations can only be accessed and managed by users logged in to an admin account. Interview Locations can then be selected when scheduling interviews through the Schedule Wizard during the Interviewing stage of the ATS process.
Step 1: Access Interview Locations
From the top menu bar, select Organisation, then choose Interview Locations.
Step 2: Create a New Interview Location
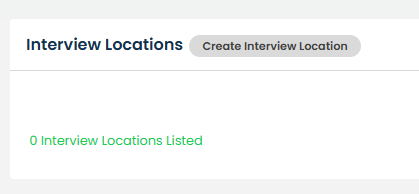
Select Create Interview Location to add a new interview location.
Step 3: Complete the Location Details
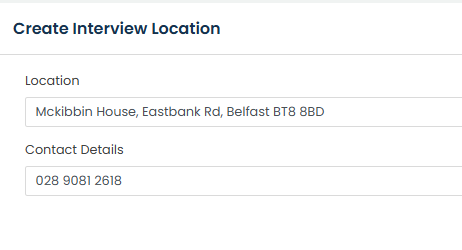
Enter the location title and complete the associated contact details as required.
Step 4: Save the Interview Location
Once all required information has been completed, select Save.
Step 5: Manage Interview Locations
The location will now appear in the Interview Locations list.
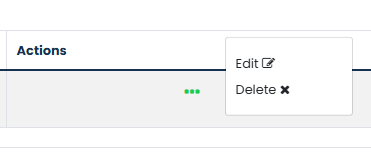
Select the three dots under the Actions column to edit or delete the location as required.
Step 6: Use an Interview Location
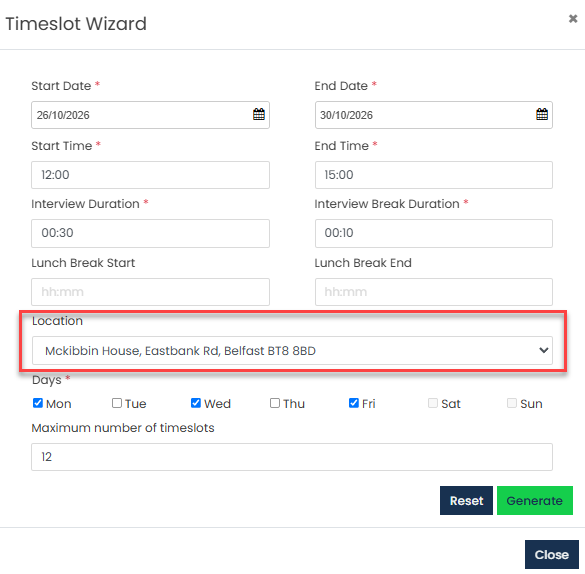
When scheduling interviews using the Schedule Wizard during the Interviewing ATS stage, any listed Interview Locations will be available for selection.
Was this article helpful?
That’s Great!
Thank you for your feedback
Sorry! We couldn't be helpful
Thank you for your feedback
Feedback sent
We appreciate your effort and will try to fix the article